Three ways to play
40 forts to break
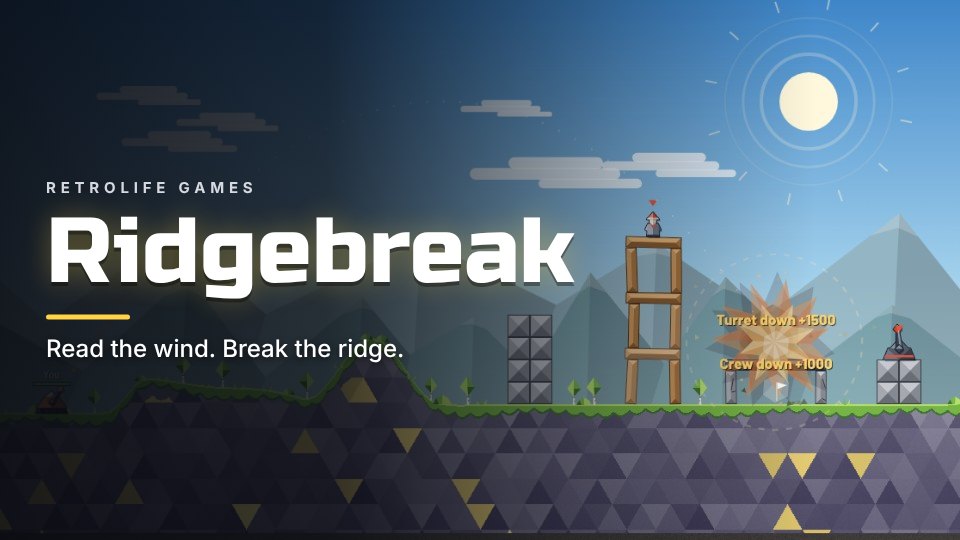
Siege runs across four regions of ten maps each. The Hills teach the ropes with wooden huts and stone walls. The Desert puts forts on mesas. In the Islands you command a battleship against sea forts and gunboats, with swells that lift your ship. The Ice brings slippery blocks, glass and steel.
New shells join your armory as you go: the Heavy Thumper, Trident, Skimstone, Seedpod, Boulder, Delver, Torpedo, Depth Charge, Chain Shot, Rogue Wave, Fire Slick, Core Drill, Ember Rain, Hornet and Skyfall. Some forts fire back, so keep your Patch kit and Bulwark ready.
Your stars and best score for every map are saved in your browser. Easy adds two shells to every map; Hard sharpens the enemy gunners and the wind.
Controls
With a mouse, drag anywhere on the field to point the barrel. On a phone, turn it sideways: the aim and drive buttons sit on the left, shells and FIRE on the right, and you can drag on the field to aim.
The basics
- Fire, then adjust. Your last shot leaves a faint dotted trail. Nudge the power up if you fell short, down if you flew long.
- Aim into the wind. The arrow at the top shows which way shells drift. A longer arrow means more drift.
- Hit the structure, not just the crew. Knock out a post and the roof comes down on whoever is underneath.
- Save your heavy shells. Steel shrugs off light rounds. Keep the Heavy Thumper or Core Drill for armored bunkers.
- Use the ground. Blow out the hill under a fort and the whole thing slides into the crater.
- New to it? A four-step walkthrough shows angle, power, wind and the shot trail the first time you play.
 Combcourt
 Rookmire
 Hopmarsh
 Clinkrow
 Rallyburn
 Rimrush